Did you know that even a small leak under your kitchen sink can waste up to 10,000 gallons of water annually if left unaddressed? Beyond the water waste, leaks can lead to costly water damage and promote mold growth, which can harm your home and health.
Leaks under the sink are a common household plumbing issue, often caused by loose connections, worn-out seals, or damaged pipes.
While these problems might seem overwhelming, with the right tools and guidance, many homeowners can tackle an under sink leak repair on their own.
In this guide, we’ll cover:
- How to identify the source of the leak.
- The tools and materials you’ll need for the job.
- Step-by-step instructions for repairing common leak points.
- Safety tips to ensure a smooth repair process.
- Preventive measures to avoid future leaks.
By the end of this guide, you’ll have the knowledge and confidence to repair a leak under your sink and protect your home from further damage. If you’d rather leave the job to the professionals, contact us for an estimate at Done Rite Services. We’re here to help!
Table of Contents
Identifying the Source of the Leak

Leaks under the sink can come from several areas, including the P-trap, drain pipes, water supply lines, faucet base, sprayer hose, or garbage disposal connections. Pinpointing the exact location is the first step to resolving the leaking pipe issue.
Run water through the sink and use a flashlight to inspect each component. Look for dripping water or pooling around connections. This process will help you determine where the leak is originating.
For additional tips, check out our guide on Detecting Plumbing Leaks at Home.
Gathering the Materials
Before you begin, ensure you have everything you need to address the under sink leak repair.
Common tools include an adjustable wrench, plumber’s tape, replacement washers, and a bucket. Having the right materials on hand will make the repair process smoother and more efficient.
Place a bucket under the sink to catch any water, and have rags nearby for drying surfaces. This will help minimize mess and prevent further water damage from leaking pipes.
If you’re dealing with a leaking shut-off valve under the sink or a leaking sprayer hose, make sure to have replacement parts ready.
Tightening Loose Connections
Loose connections are a common cause of leaks under kitchen sinks. Check the P-trap, drain pipes, and water supply lines for any loose fittings. Additionally, inspect the sink’s drain flange and faucet handle for signs of looseness.
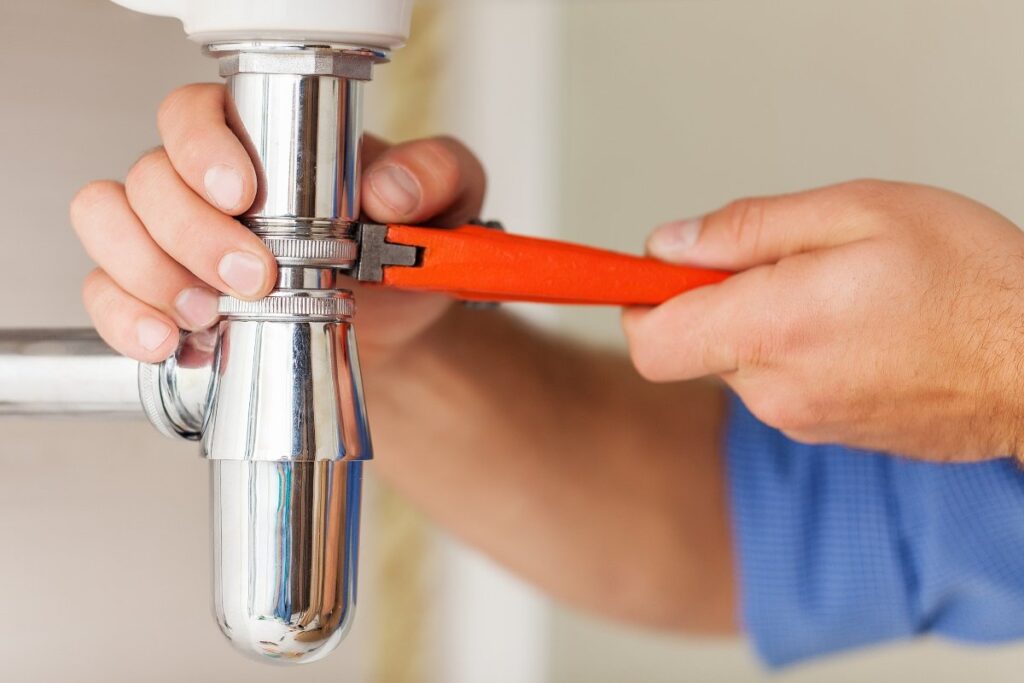
Carefully tighten nuts and fittings without overtightening, as that would damage components and worsen the leak. Make small adjustments, and test for leaks after each step. This method also applies to repairing faucet leaks under sink areas or sink sprayer connections.
Fixing Leaks in Drain Pipes

If the leak is from the drain pipes, inspect the connections and seals. Tighten slip nuts and replace worn gaskets as needed. Drain leaks are often caused by degraded materials, so a thorough inspection is essential.
If the pipe is cracked or corroded, replacing it may be necessary. Ensure all connections are secure to prevent future leaks.
For more extensive issues, consider our home repiping services. A leaky pipe can escalate quickly, so addressing it promptly is crucial.
Replacing a Leaking P-Trap
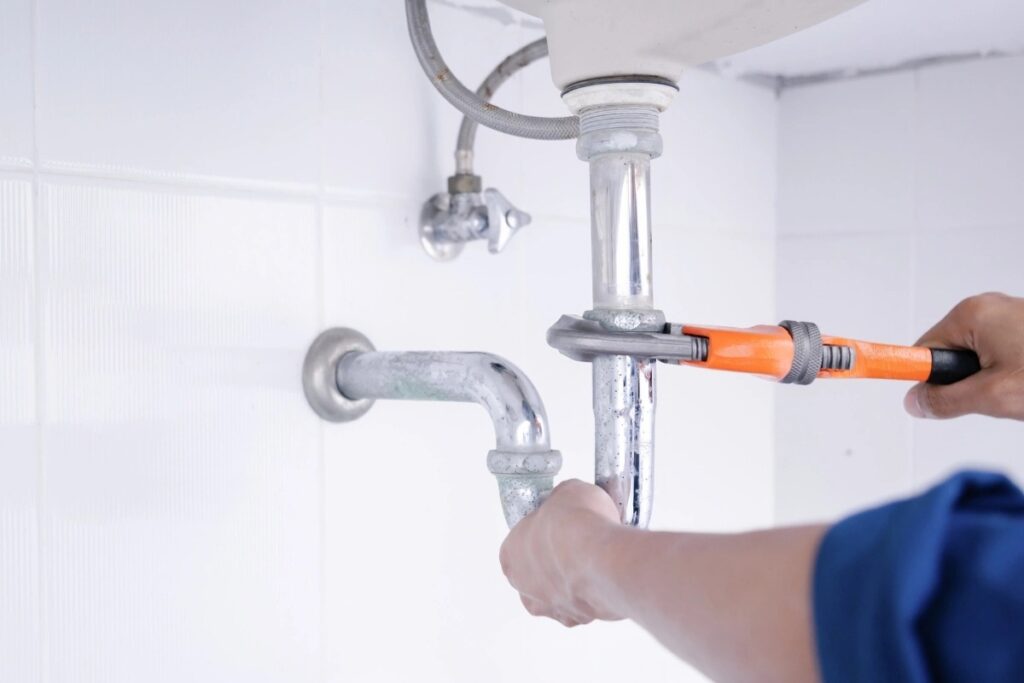
The P-trap is a common culprit for leaks under the sink. Start by placing a bucket under the P-trap to catch water. Loosen and remove the slip nuts, then clean out any debris from the old P-trap. This step is vital for a proper seal during reinstallation.
Install the new P-trap, and secure the connections properly. Avoid overtightening to prevent damage. Test the setup by running water to ensure the leak is resolved. If you notice persistent issues, the problem may lie in the sink’s drain pipes or valve seat.
Repairing or Replacing a Drain Seal
Carefully remove the old drain seal, and clean the area thoroughly. This ensures a proper fit for the new seal and prevents future leaks. A clean surface is critical for achieving a watertight seal.
Apply adhesive or plumber’s putty around the drain body. Reinstall the drain, and ensure it is centered for a watertight fit. Note that drain leaks can also occur if the sink flange or sprayer head connections are compromised.
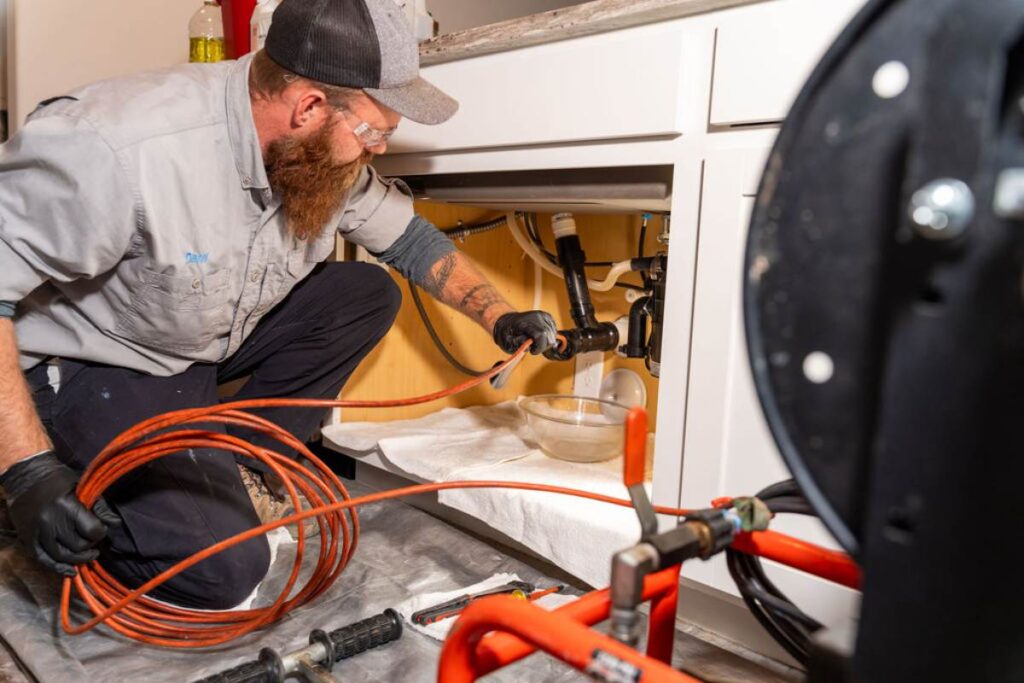
If you encounter persistent issues, our drain cleaning services can help.
Fixing Leaks at the Tailpiece
Leaks at the tailpiece often occur due to worn washers or cracked components. Remove the tailpiece, and inspect for damage. If the tailpiece is cracked, replacing it is the best option for a lasting repair.
Apply sealing materials to the threads before installing a new tailpiece. Tighten the connections securely, and check for leaks by running water. This method is also effective for repairing leaking pipes under bathroom sinks or kitchen sinks.
Repairing Leaks at the Sink Flange
Take apart the trap bend and drain body to access the sink flange. Remove the flange, and clean the area thoroughly. This step is crucial for ensuring a proper seal during reinstallation.
Apply plumber’s putty under the flange, and reinstall the drain body. Check the pop-up assembly for leaks, and ensure all connections are secure. If the issue persists, it may be related to the valve seat or faucet handle.
Inspecting and Repairing Water Supply Lines
Always shut off the water supply before working on supply lines. This prevents accidents and further damage. Inspect the lines for cracks, wear, or leaks at the shut-off valve under sink areas.
Tighten loose connections, or replace damaged lines as needed. If the sprayer hose is leaking, replacing the hose may resolve the issue. For urgent problems, our emergency plumbing repairs are available 24/7.
Safety Precautions
Always turn off the water supply before starting repairs. Handle components carefully to avoid damage or injury. Wearing gloves and using appropriate tools can help ensure a safe repair process.
Follow instructions closely, and use proper techniques to ensure a safe and effective repair process. If you’re unsure about handling plumbing repairs, hiring a professional plumber is a wise choice to avoid further complications.
Testing for Leaks
After completing the repair, turn the water back on, and let it run. Check all connections and components for any signs of leaks. This step ensures that your repair was successful and that no additional adjustments are needed.
If leaks persist, recheck your work, and adjust connections as needed. For ongoing issues, consider professional help from Done Rite Services. Persistent leaks may indicate underlying problems with the sink’s drain or faucet components.
Preventing Future Leaks
Inspect connections and components periodically to catch issues early. Regular maintenance is key to avoiding extensive repairs. Use drain cleaners to prevent clogs and buildup that could lead to leaks.
Consider installing leak detectors under sinks to catch problems before they escalate. For more tips, read our guide on Preventing Backflow in Plumbing. Early detection can save you time and money and prevent water damage in the long run.
Wrapping Up: Protect Your Home From Leaks
Addressing a leak under your sink promptly is crucial to preventing water damage, mold growth, and costly repairs.
By following the steps outlined in this guide, you can identify the source of the leak, gather the right tools, and make effective repairs to common problem areas like the P-trap, drain pipes, and water supply lines.
Regular maintenance and early detection are key to avoiding future leaks and keeping your plumbing in top condition.
If you encounter challenges during the repair process or prefer professional assistance, Done Rite Services is here to help. Our team of licensed, bonded, and insured experts is available 24/7 to handle all your plumbing needs.
Don’t let a small leak turn into a big problem—schedule your service with Done Rite Services today, and let us take care of it for you.
Frequently Asked Questions
What tools do I need to fix a leak under the sink?
You’ll need an adjustable wrench, plumber’s tape, replacement washers, a bucket, and rags. These tools help ensure a smooth and effective repair process.
How can I identify the source of a sink leak?
Run water through the sink and use a flashlight to inspect components like the P-trap, drain pipes, and water supply lines for dripping or pooling water.
What should I do if the P-trap is leaking?
Place a bucket under the P-trap, loosen the slip nuts, and clean out debris. Replace the P-trap if needed, secure connections, and test for leaks.
How can I prevent future leaks under the sink?
Inspect connections regularly, use drain cleaners to prevent clogs, and consider installing leak detectors under sinks for early detection of potential issues.
